User Guide
This section of the document is about how to utilize the Cyences App.
Data Collection
Data must be onboarded into your Splunk environment in order to get the most security benefits out of the Cyences App. Refer to the Data Onboarding section for more information.
Configuration
View the Installation/Configuration section for installation and configuration information regarding the following topics:
- App installation
- Dependency installation
- Macro configurations
- Cyences Email Settings for Alerts
Enable Alerts and Reports
Security use cases will vary depending on the needs of the individual user, as Splunk users utilize different combinations of devices and firewalls. For this reason, all of the alerts and reports that come with the Cyences app are disabled by default.
Recommended — enable alerts per product from the Cyences Configuration page: The easiest way to enable alerts is through the Products Setup page in the Cyences Configuration UI. Enable the products relevant to your environment, and Cyences shows and manages the associated alerts for you — no need to edit each saved search by hand. See the Products Setup (Data Source Macros) section for more information.
Manual method — enable an individual alert or report:
- Go to Settings > Searches, reports, and alerts.
- In the App dropdown select Cyences App for Splunk (cyences_app_for_splunk).
- Each alert and report has an Edit button present underneath the Actions column.
- Click on Edit > Enable to enable the desired alert/report.
A few of the included alerts depend on a supporting report being enabled as well. For example:
- Ransomware - Spike in File Writes
- Ransomware - Calculate UpperBound for Spike in File Writes
- Device Inventory and User Inventory are populated by scheduled reports and require a one-time setup — see the Installation/Configuration > Device Inventory and User Inventory sections for details.
Enable Email Notifications with Alerts
Email notifications are disabled by default for all alerts.
How to enable email notifications for alerts:
- Navigate to Settings > Searches, reports, and alerts.
- Under Type: select Alerts.
- Under App: select Cyences App for Splunk (cyences_app_for_splunk).
- Click + Add Actions and in the dialog box select the Send email action.
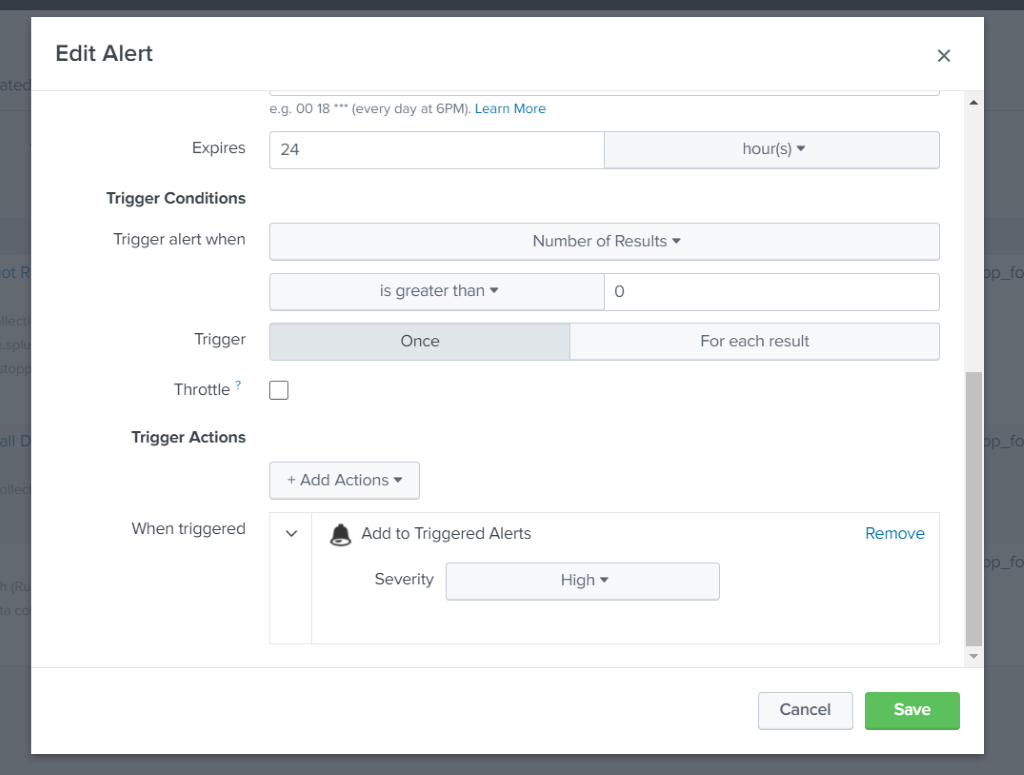
- Complete the necessary field values (i.e., “To”, “Subject”, “Message”, etc.)
- Click Save.