Google Workspace Data
App Installation
| App | Search Head | Indexer | Heavy Forwarder | UF / Deployment Server | Additional Details |
|---|---|---|---|---|---|
| Splunk Add-on for Google Workspace | Required | - | Required | - | Installation and Configuration Guide & Google Side Configuration |
Important inputs to be configured
- Activity Report
- Gmail Logs
- Gmail Logs Migrated
- Alert Center
Note :
-
Create an index named google or update the cs_gws macro definition from Cyences app configuration page (Cyences Settings > Cyences App Configuration > Products Setup).
-
The following Apps/Add-ons should not be installed on a Search Head if the Cyences app is already present due to authentication tagging issues:
Estimated Data Size
The license usage consumed by this Add-On is based on the size of your environment, the number of users, and the amount of user activity taking place in your environment.
Google Side Configuration
Configure your Google Cloud Service account, this guide will configure reports for Google Workspace Activity Reports, Gmail Headers, Google Workspace User Identity Report, and Google Workspace Alert Center.
Prerequisites
Create a new project in your GCP deployment
-
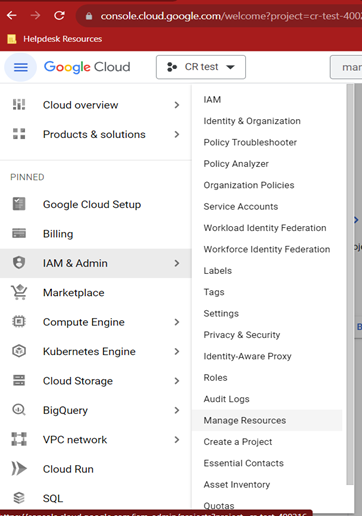
Open https://console.cloud.google.com/ then go to menu and choose IAM & Admin -> Manage Resources
-
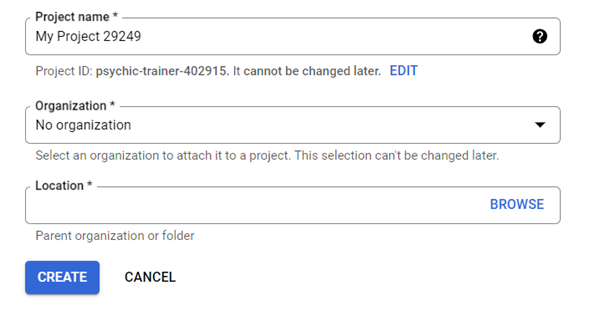
Click on the Create Project.

-
Add your project name, and choose your organization > Create
Setup Google Workspace Credentials
Perform the following steps to set up Google Workspace Credentials on your Google Console:
-
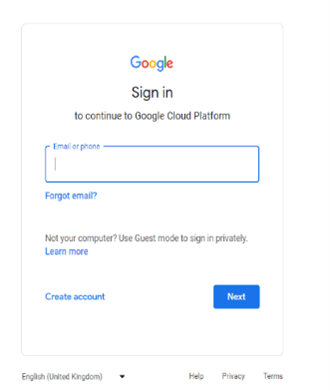
Navigate to https://console.cloud.google.com/, and log into the Google account where you want to set up your Google Workspace credentials.
Enable APIs
-
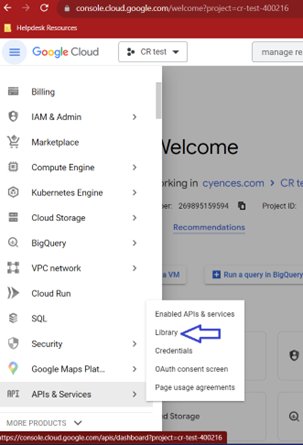
Navigate to APIs & Services > Library.
-
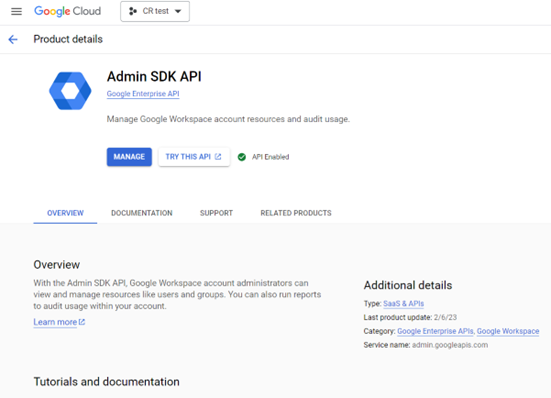
Search for the Admin SDK API. Select and enable it (Making calls to this API lets you view and manage resources such as user, groups, and audit and usage reports of your domain).
-
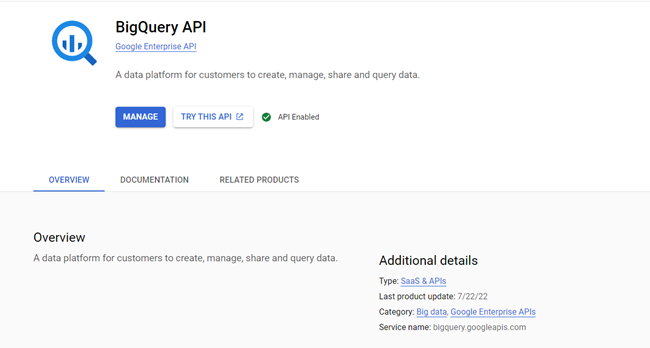
Search for the BigQuery API. Select and enable it.
-
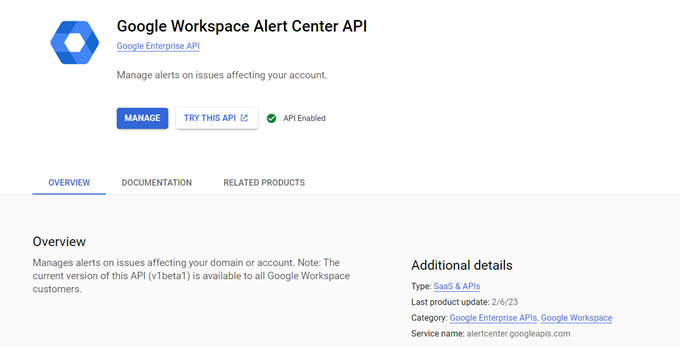
Search for the Google Workspace Alert Center API. Select and enable it.
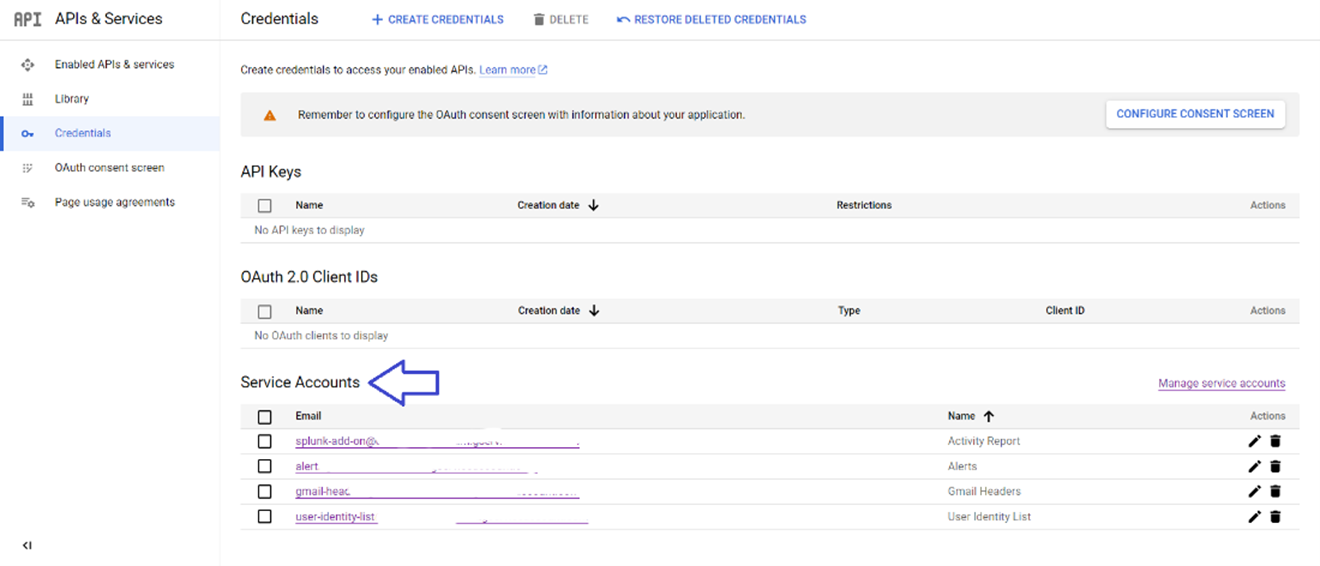
Create Service Account
- Navigate to APIs & Services > Credentials.
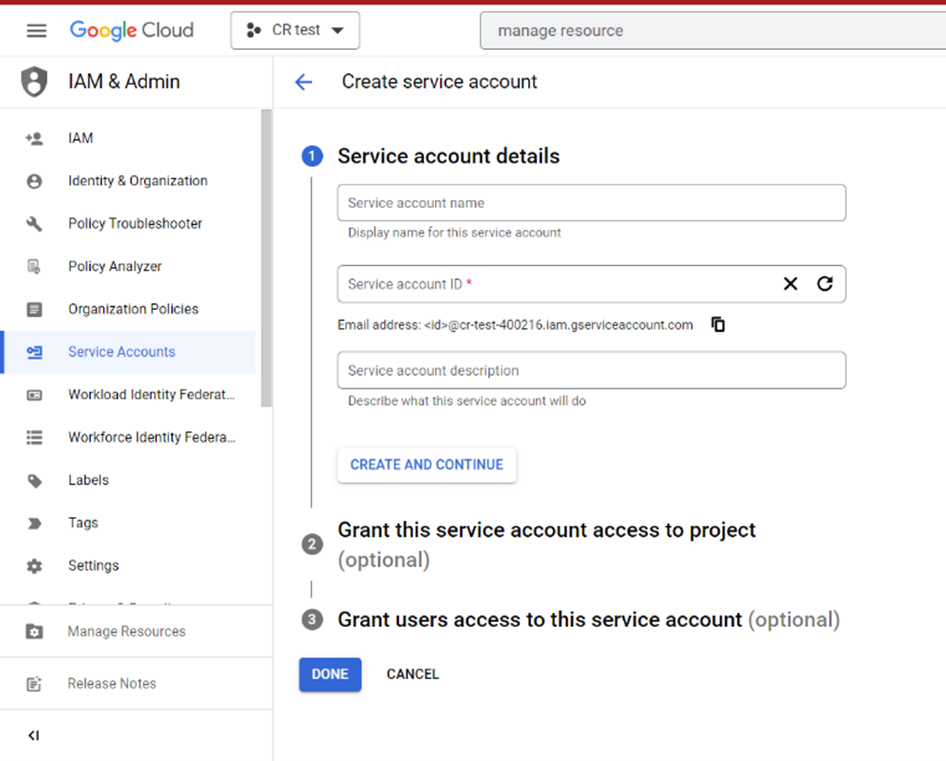
- Click Create Credentials > Service account.
-
Only name your service account and click create and continue. All the other steps are optional (we don’t usually fill them). Click Done.
-
In Credentials, navigate to your new service account name, and click on your new service account name.
-
Navigate to Keys tab, Click Add Key > Create new key > JSON key type > Create.
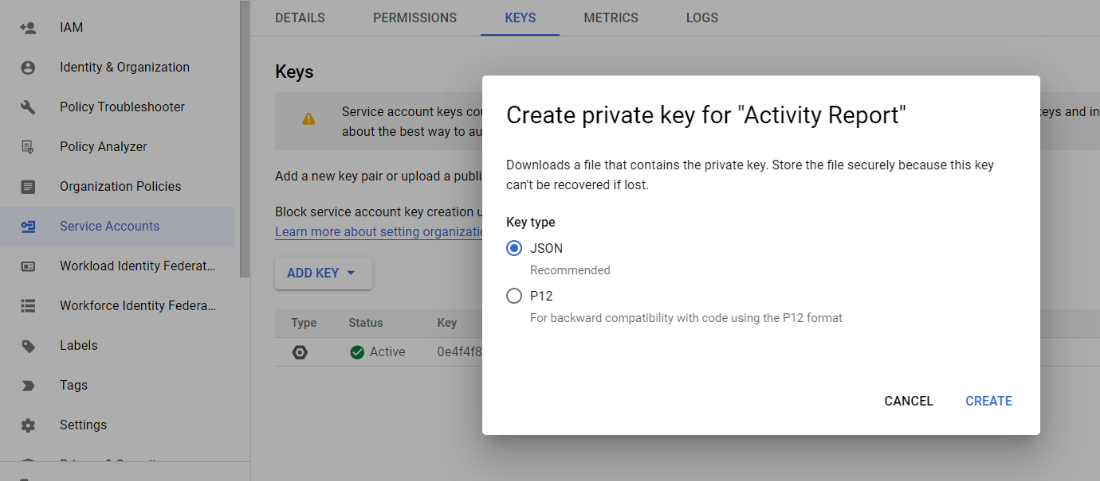
*Save the JSON key in your device.
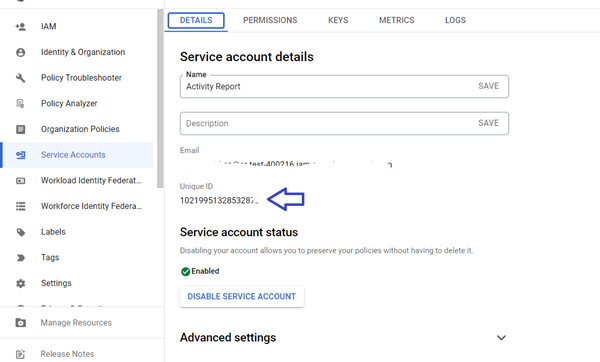
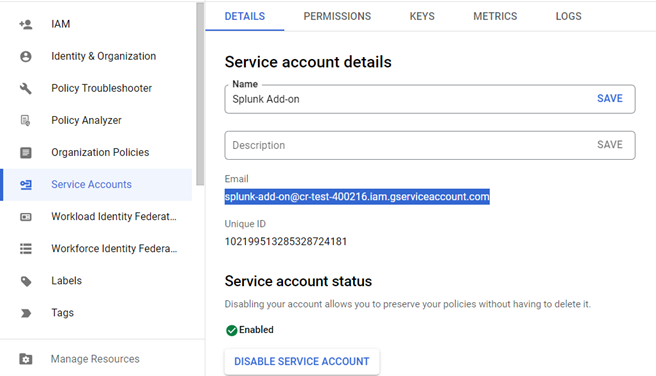
-
In the Service account details page for your new service account, navigate to the Unique ID, and copy the contents of the Unique ID.
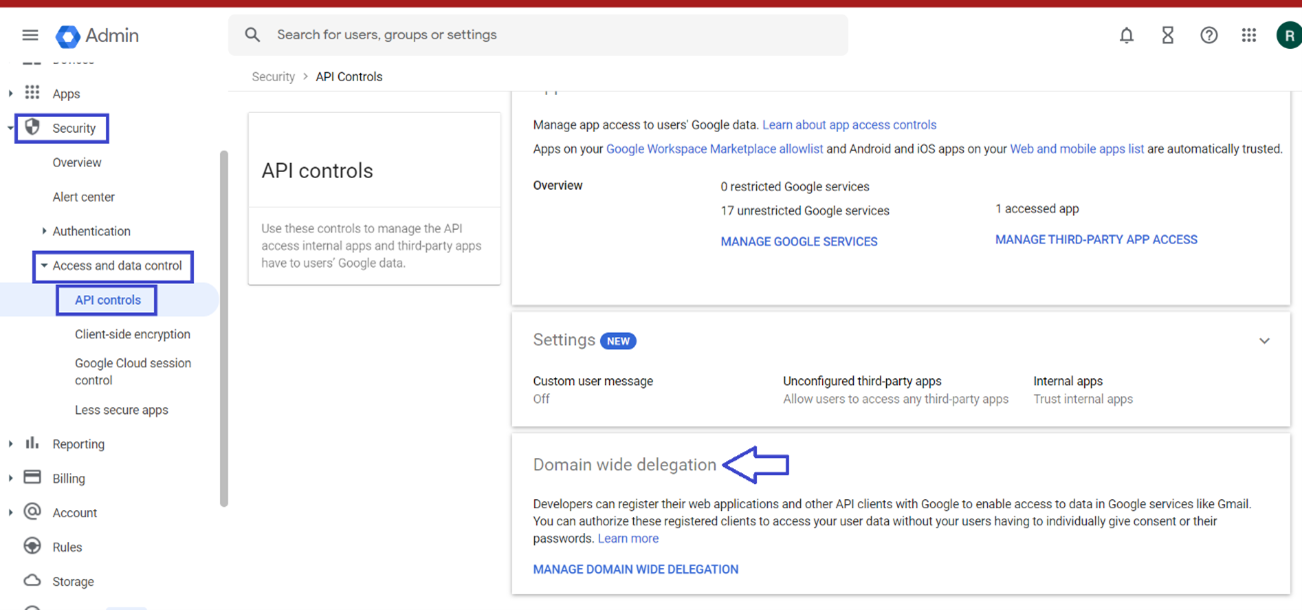
- Navigate to https://admin.google.com/, login to your administrator Google account.
- On the Google Admin home page, navigate to Security > Access and data control > API controls.
-
In API Controls, navigate to Domain wide delegation, and click Manage Domain Wide Delegation.
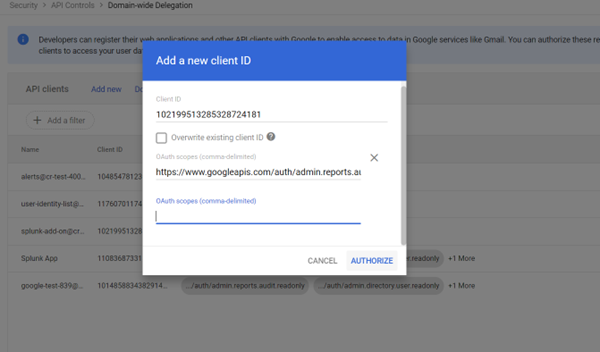
- In Manage Domain Wide Delegation, click Add new to add a new client ID.
- In the Client ID field, paste the Unique ID that you copied from the Service account details page.
- In the OAuth scopes (comma-delimited) field, add the https://www.googleapis.com/auth/admin.reports.audit.readonly This gives read-only access when retrieving an activity report. https://www.googleapis.com/auth/admin.directory.user.readonly This gives read-only access when retrieving the user identity https://www.googleapis.com/auth/apps.alerts This gives read-only access when retrieving an activity report.
-
Click Authorize.
For Gmail Logs
You can collect gmail logs only if you have one of these subscriptions (Enterprise Standard, Enterprise Plus, Education standard or Education plus)
-
Go back to the “Details” tab and copy the service account email.
-
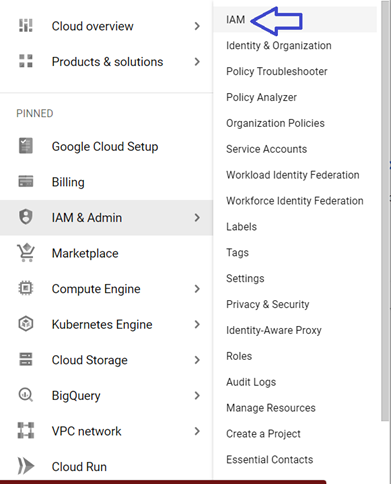
Navigate to IAM.
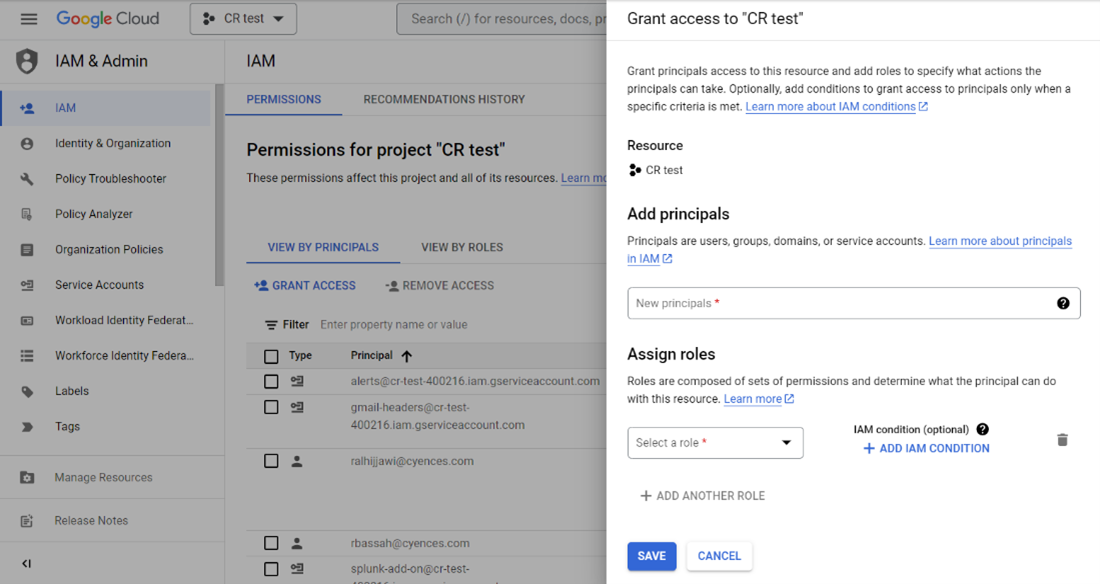
- Click Grant Access > Paste service account email into new principals’ field.
-
Click Select a role > Type BigQuery Job User > Click on BigQuery Job User > Save
- Navigate to https://admin.google.com/
- Go to Apps > Google Workspace > Gmail
- Click Setup > Click Email Logs in BigQuery > Click Enable
- In Select the BigQuery project to use find a Google Cloud project where service account was created
- You can optionally specify a different name of the dataset under Specify the name for a new dataset to be created within your project. Later you can configure this dataset name during the input configuration steps > Save
- Navigate to https://console.cloud.google.com/
- Search for BigQuery in the search bar and click BigQuery.
- On the left side of the screen, you should see the Google Cloud project, click on it.
- Click on View actions > Open (three dots) near gmail_logs_dataset. By default, you may see something else depending on the name you chose in the previous step.
- Click on Sharing > Permissions.
- Click on Add principal.
- Paste service account email into new principals’ field > Select a role > Type BigQuery Data Viewer > Click on BigQuery Data Viewer > Click save.
For the User Identity
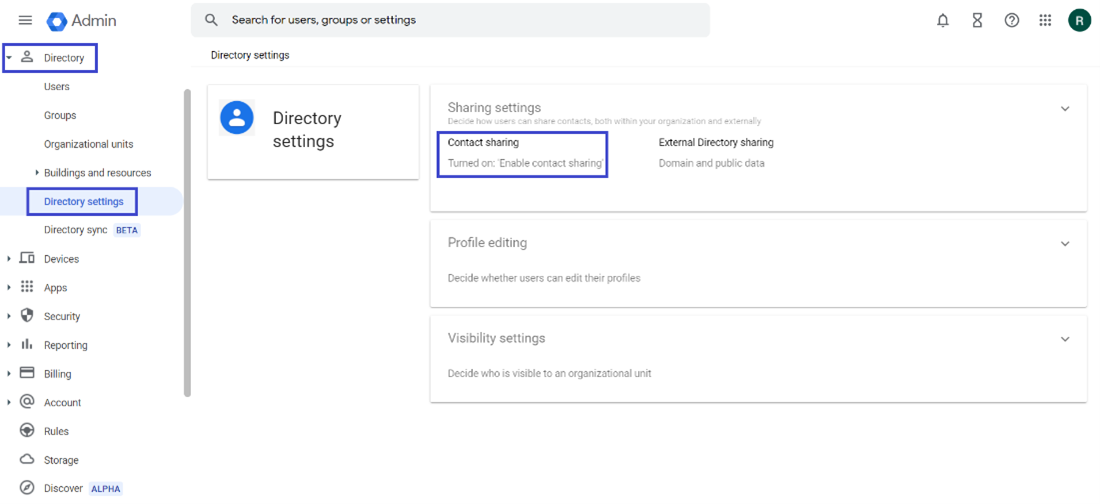
- Navigate to https://admin.google.com/
-
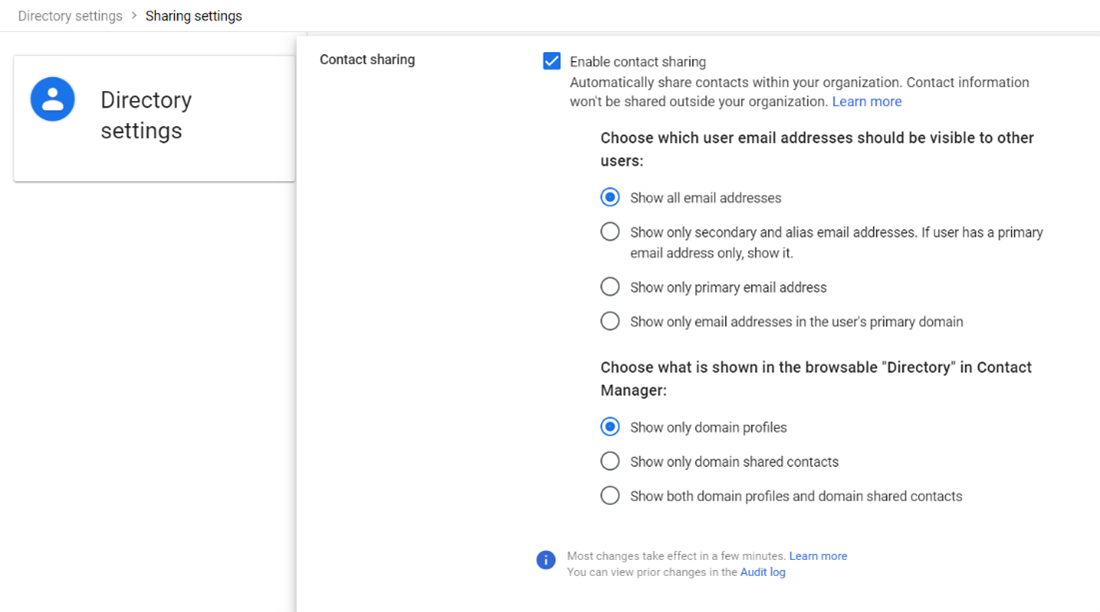
In the Admin console, navigate to Menu > Directory > Directory settings > Click Sharing settings > Contact sharing > Check the Enable contact sharing box
- Select which email addresses to include in the Directory > Show all email addresses—Show the user’s primary email address and any alias addresses.
- Select which profiles appear in the Directory in Contacts on the web. If you have many domain profiles or external contacts, show only certain types of profiles to find addresses faster and help the Directory load faster > Show only domain profiles — Include profiles of internal users (people with addresses in your domains) and exclude any external contacts. Note: This setting still shows domain shared contacts in autocomplete and search
-
Click on the Save.
Notes:
- Sometimes you will need to create a JSON key again, just make sure to delete the older JSON key.
- Make sure the user has Super Admin privileges, and he is the owner of the service account.
- You can create a service account for every report, and you can include them in the same service account as I did in this document.